iPod Mini 1st/2nd Gen Battery and Storage Upgrade
Table of Contents
#
Introduction
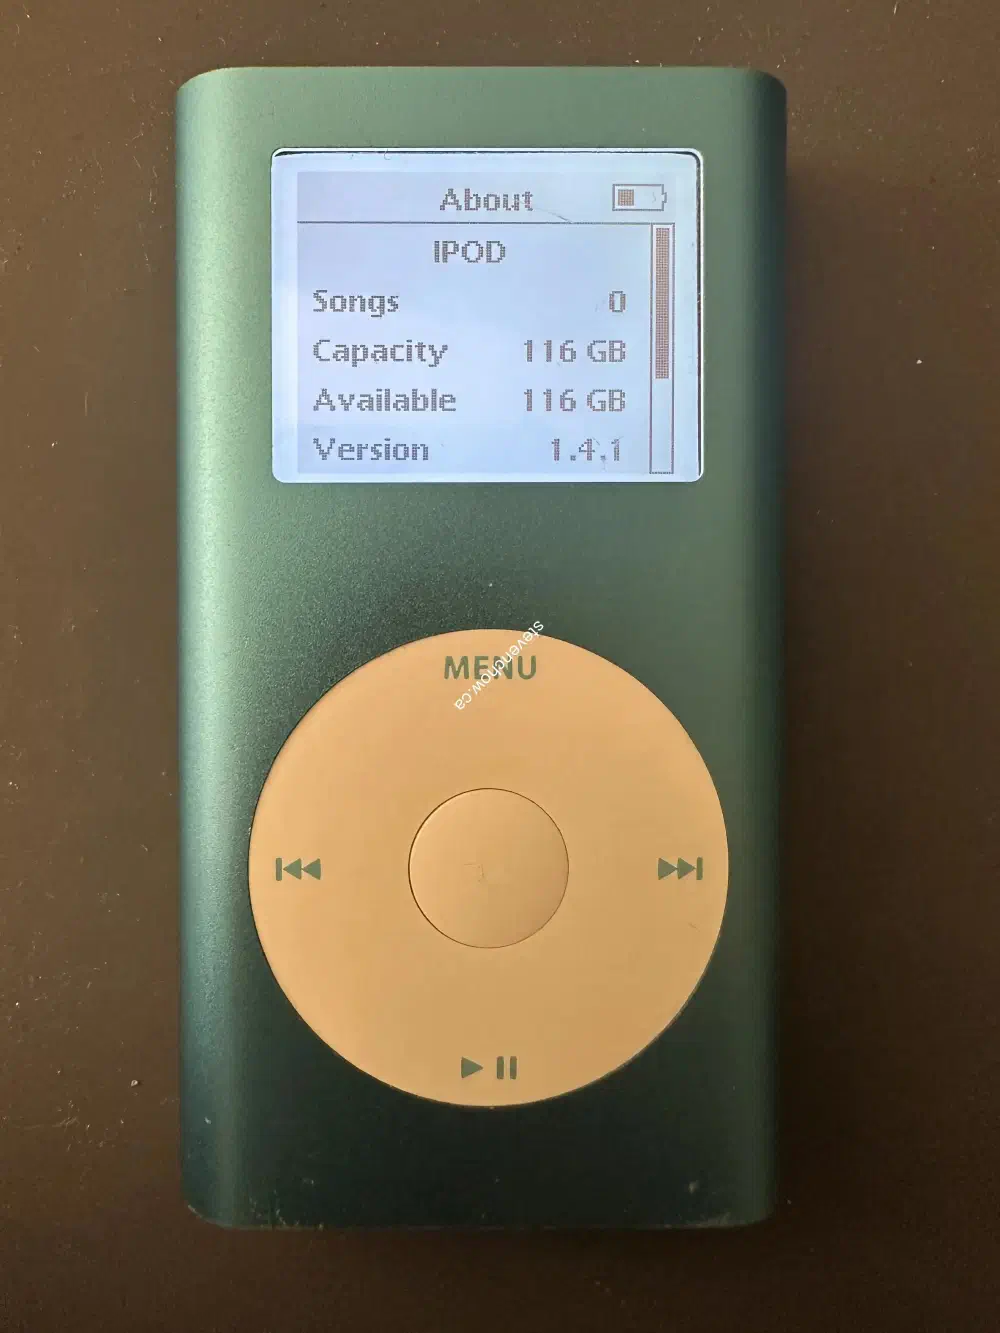
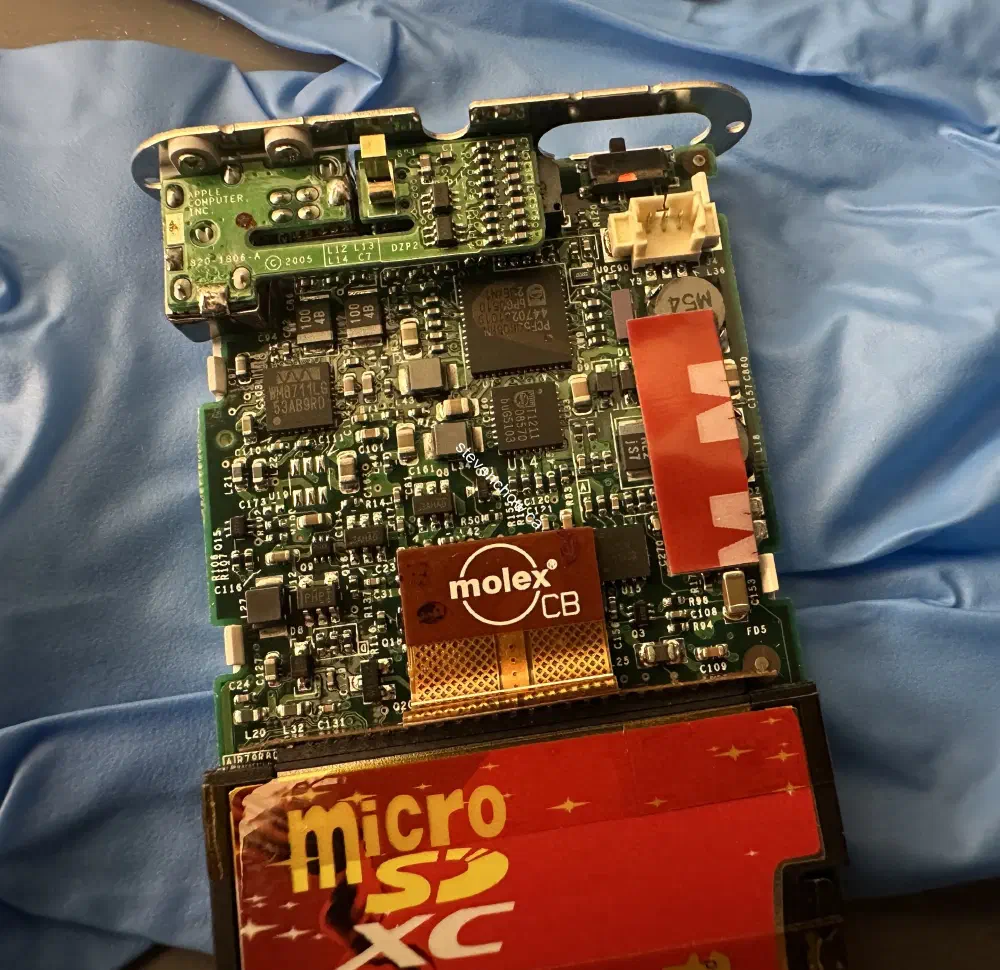
Refurbishing an iPod Mini 2nd Gen 4GB with a new after-market battery and Red CF card microsd adapter. The Red microsd to CF card adapter is a bit finicky and requires a MBR rebuild during the iPod restore process.
bootsect /nt60 D: /mbr
Replace D: with the drive letter of your iPod.
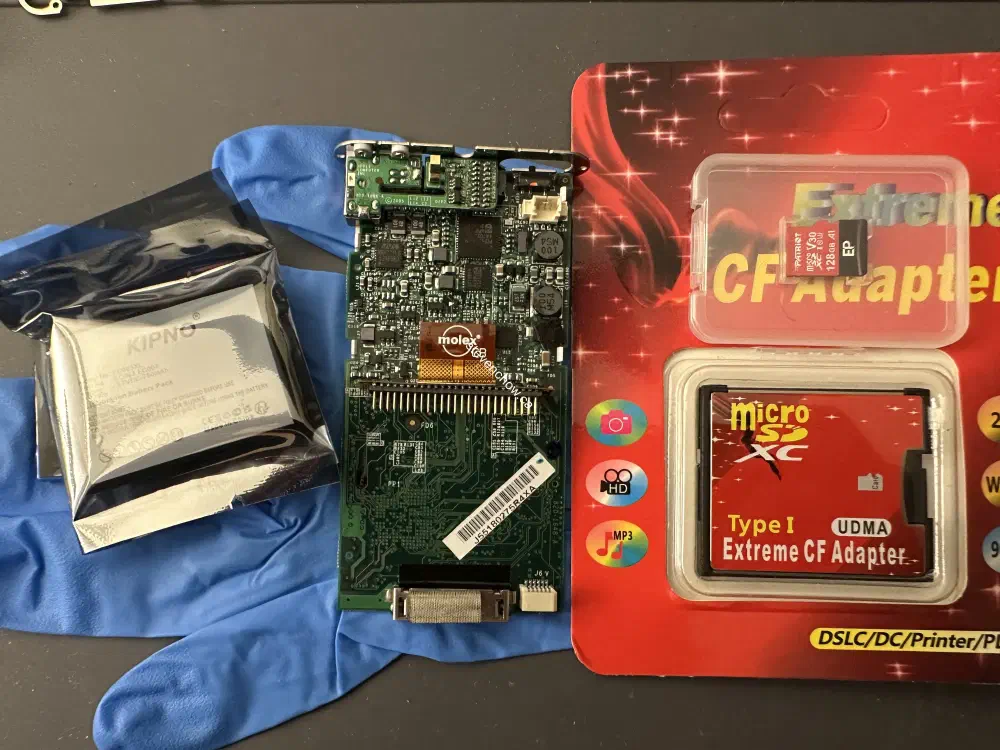
The microsd card used in this project is a PEF128GEP31MCX5 - Patriot 128GB A1 microsd. The stated performance from data sheets is Read speed up to 100MB/s | write speed up to 80MB/s.
I was only able to get around 80MB/s reads and 20MB/s writes when running f3read & f3write on MacOS. This speed is more than enough to support the USB write/read speeds of an iPod.
#
Process
##
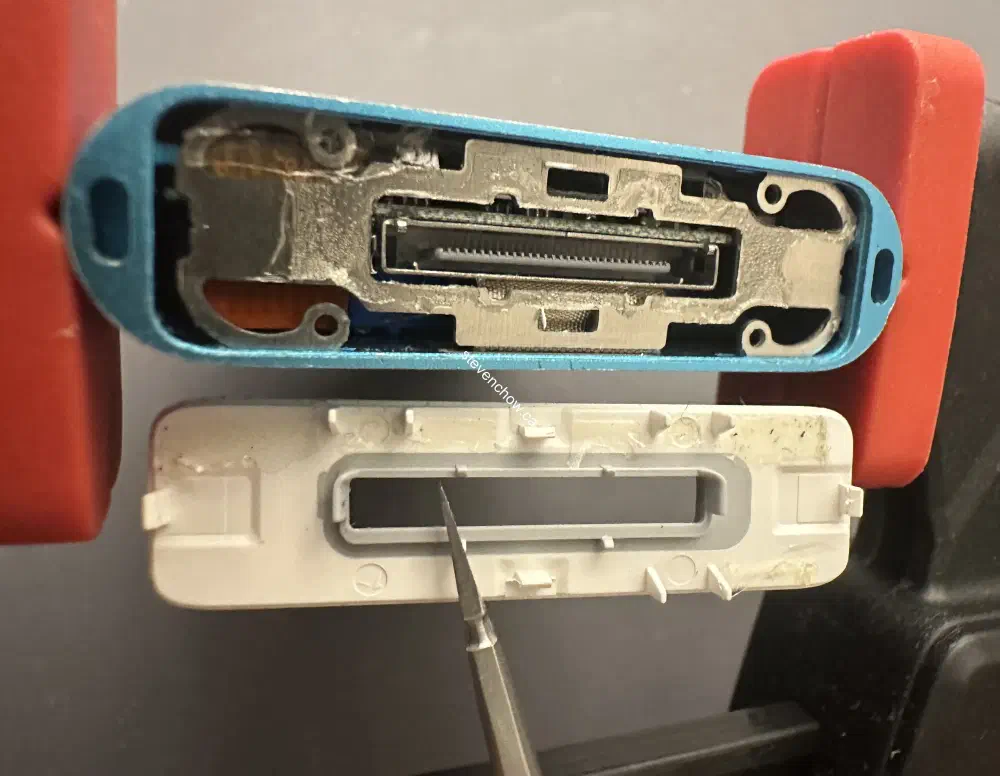
Top and Bottom Plastic Covers
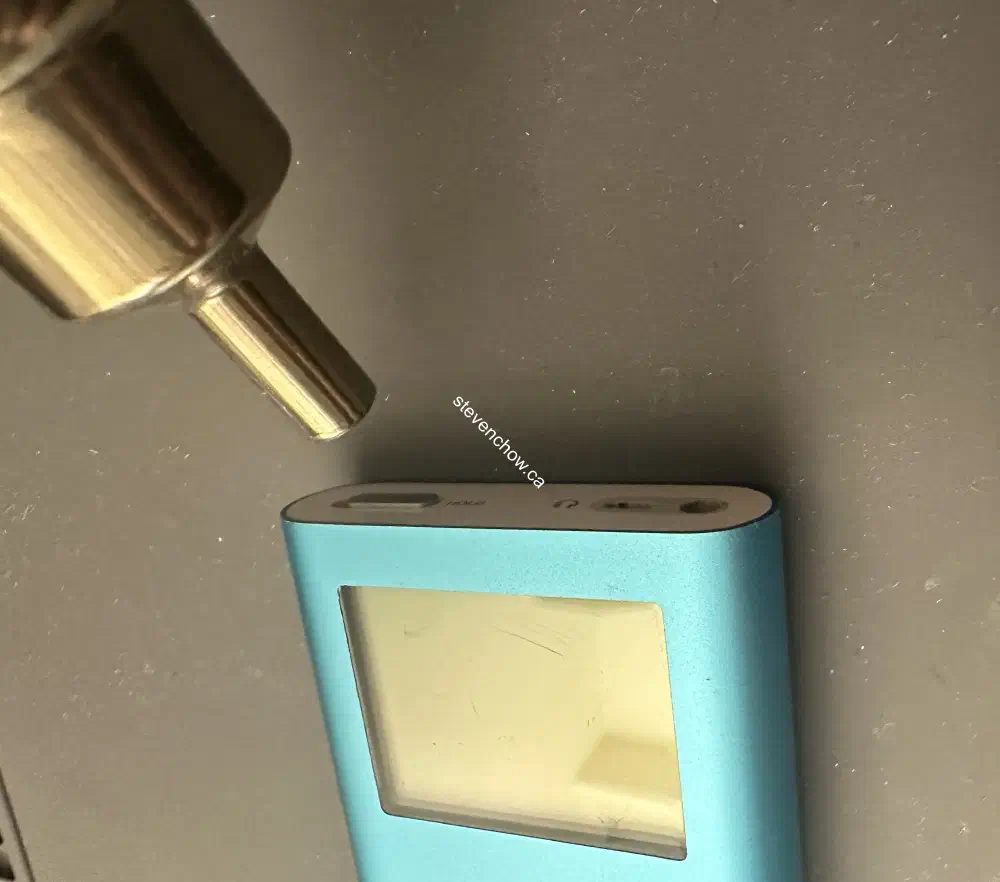
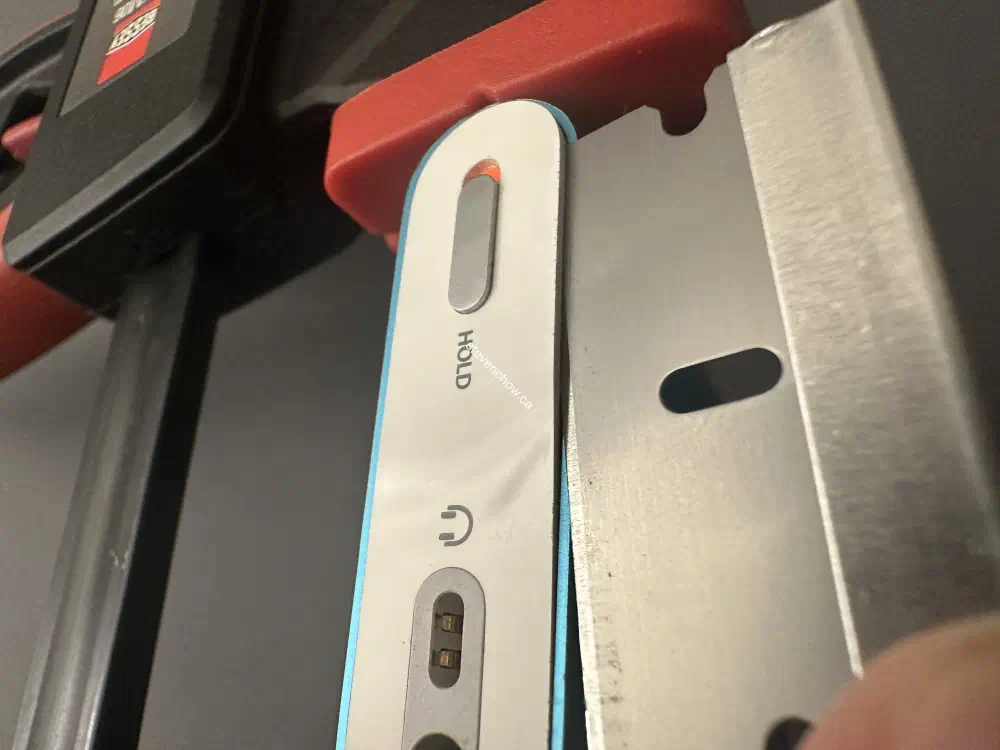
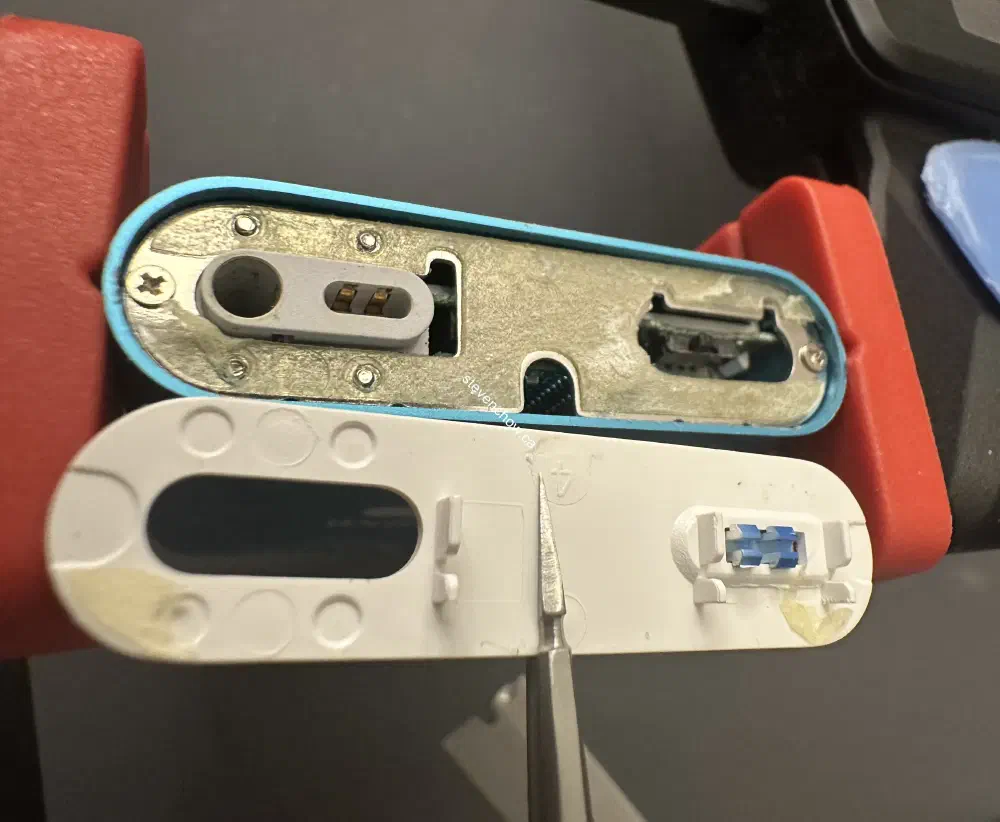
To remove the top and bottom, heat it to soften the adhesive. To reduce the amount of damage while opening, use a thin razor blade on the long edge and pry up. Once lifted, use a thin plastic pry tool to continue lifting. The plastic tools lowers the chances of damage.


##
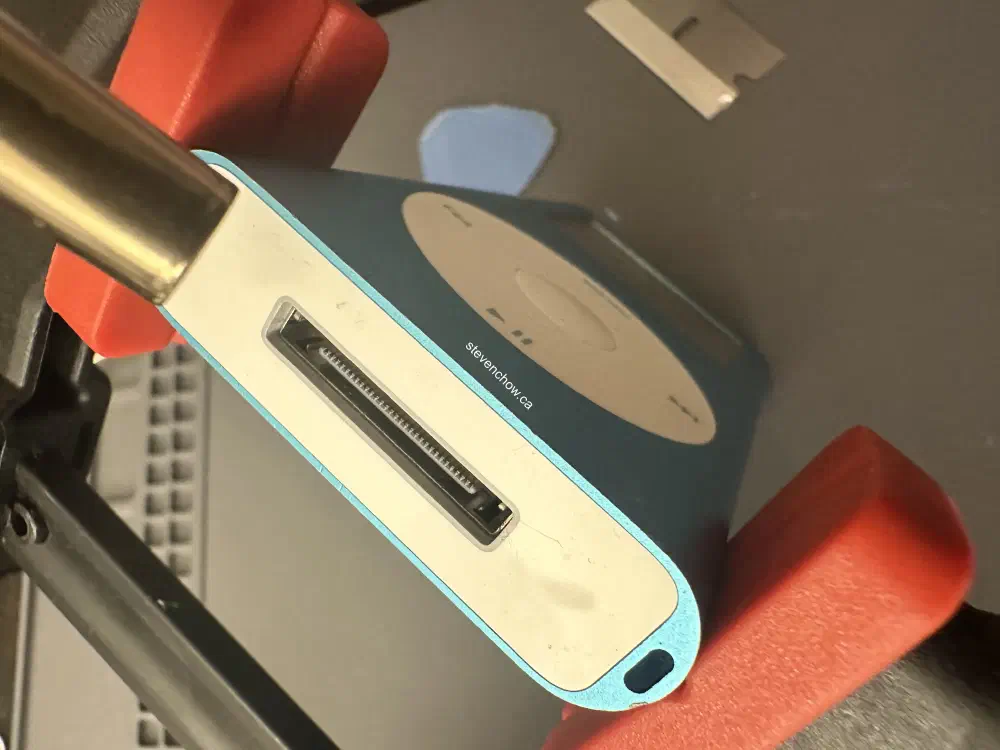
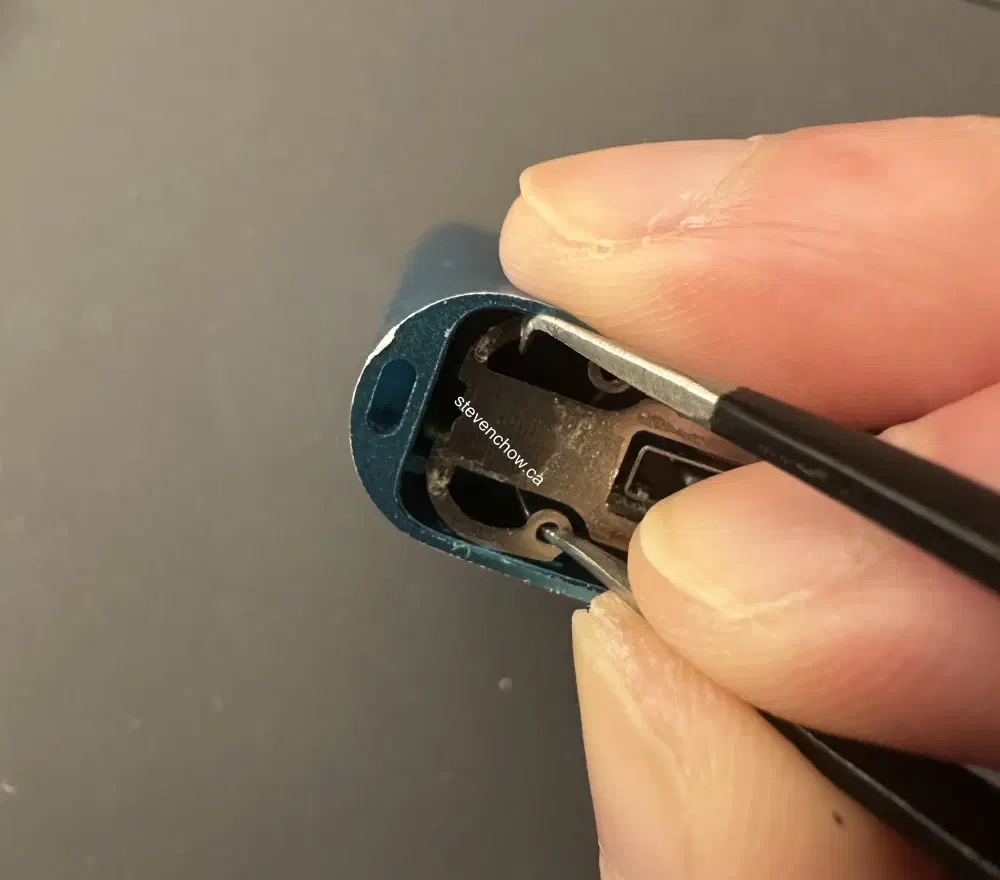
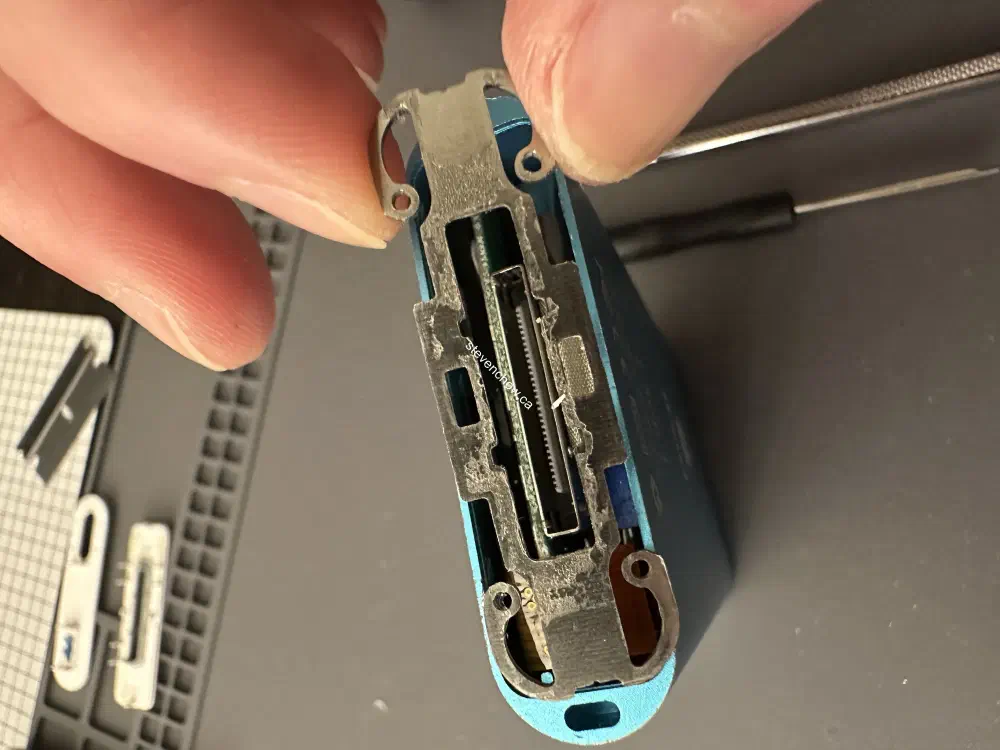
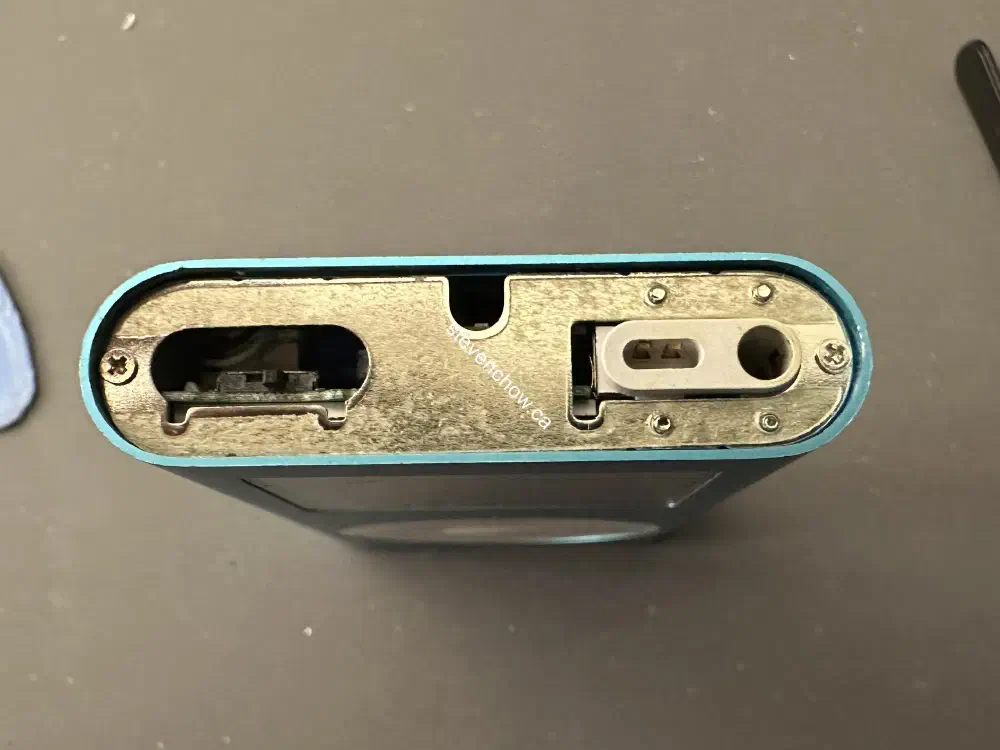
Bottom Steel Plate
Work on the side without the ribbon as it is fragile. Use a tweezer or any tool that can keep a hold in the hole and push it to release the tab. Do it to the other closest tab. Once one side is released, wiggle out the remain tabs.
##
Disconnect Click Wheel
##
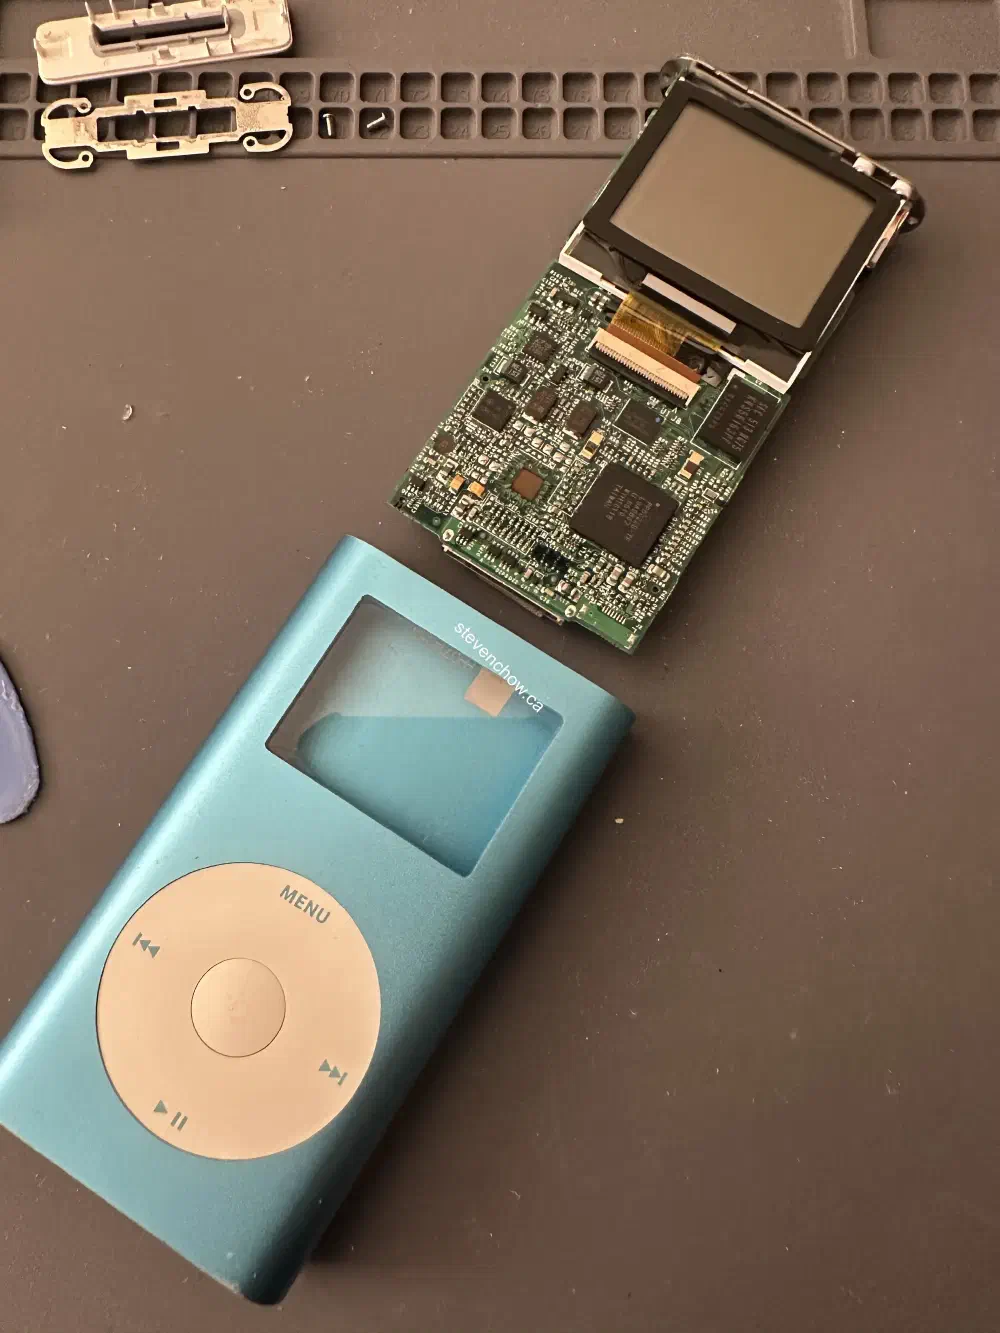
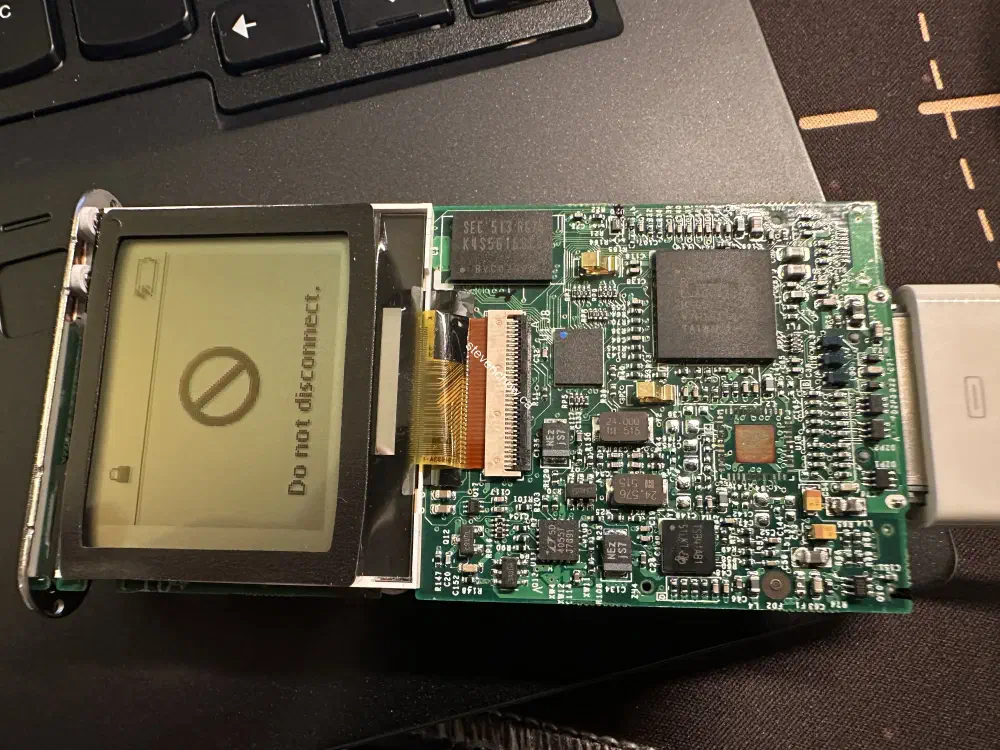
Sliding iPod Assembly Out of Case
Remove two philips screws and slide the whole iPod assembly out.
##
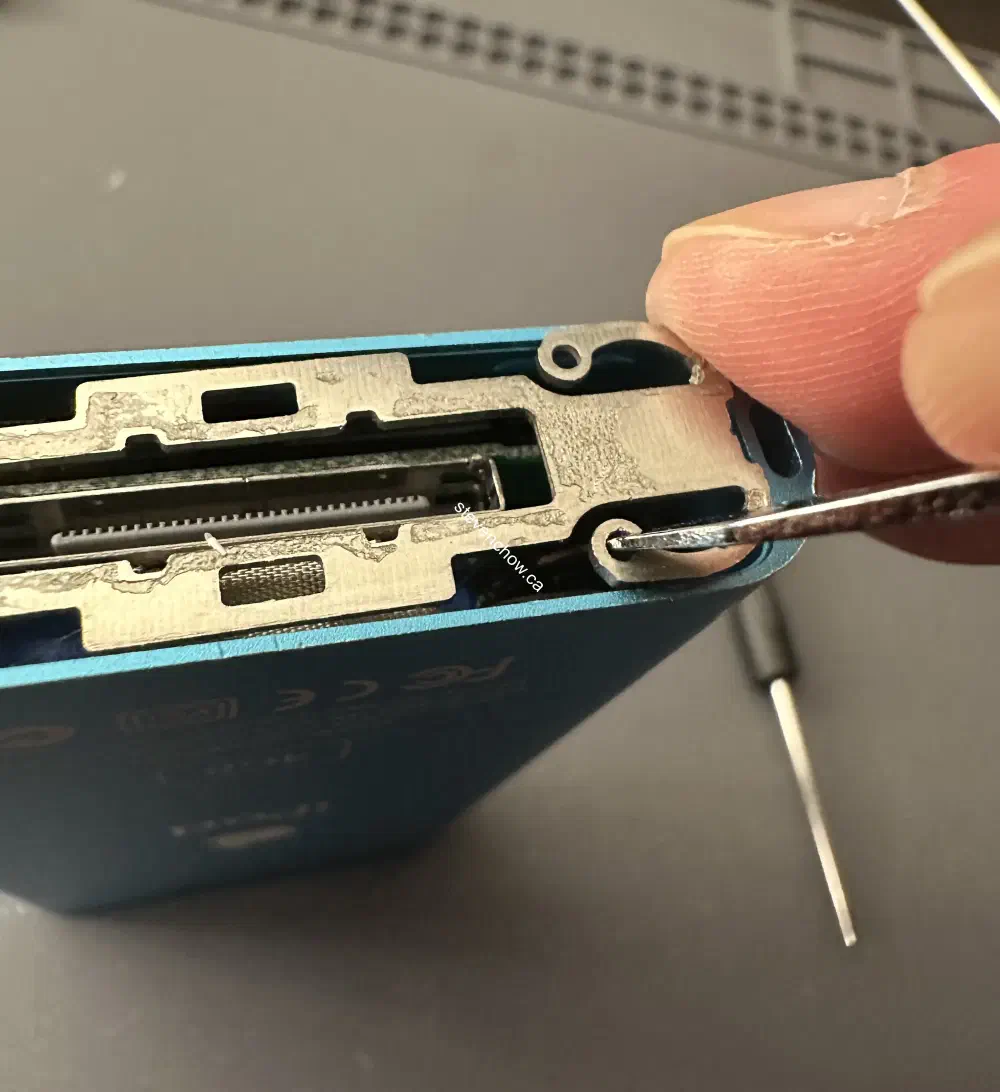
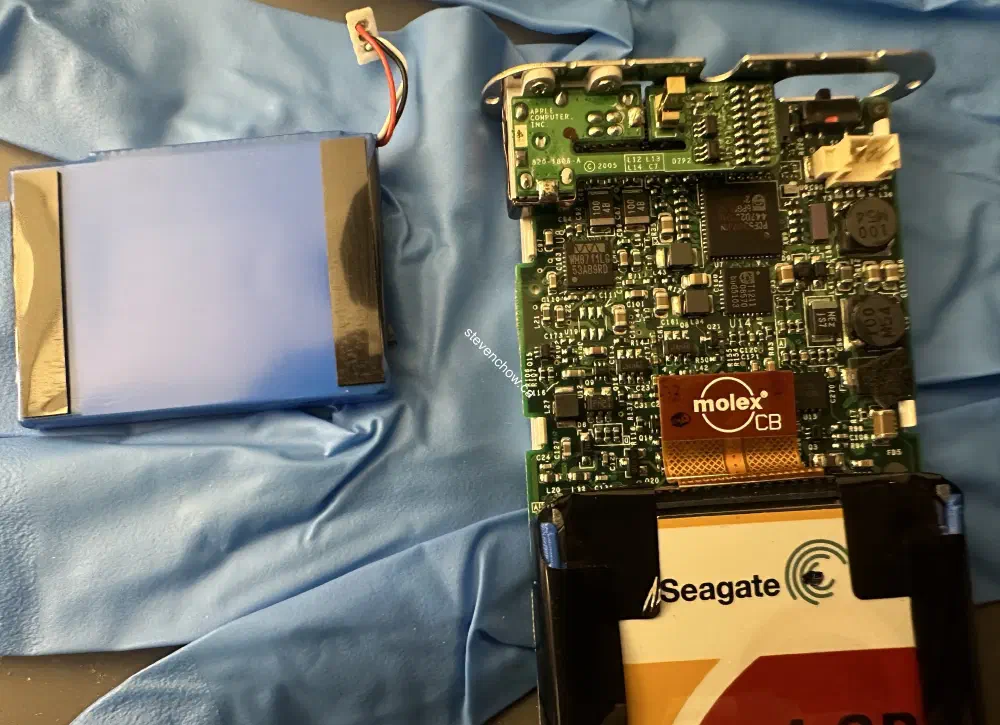
Disconnect Battery
##
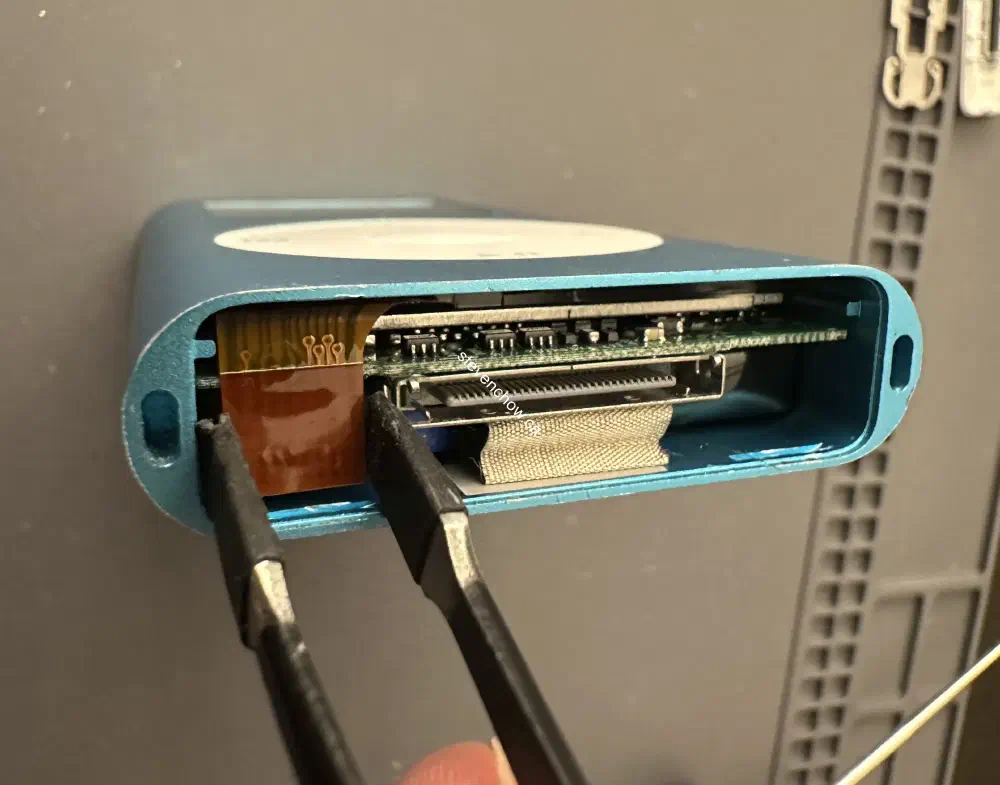
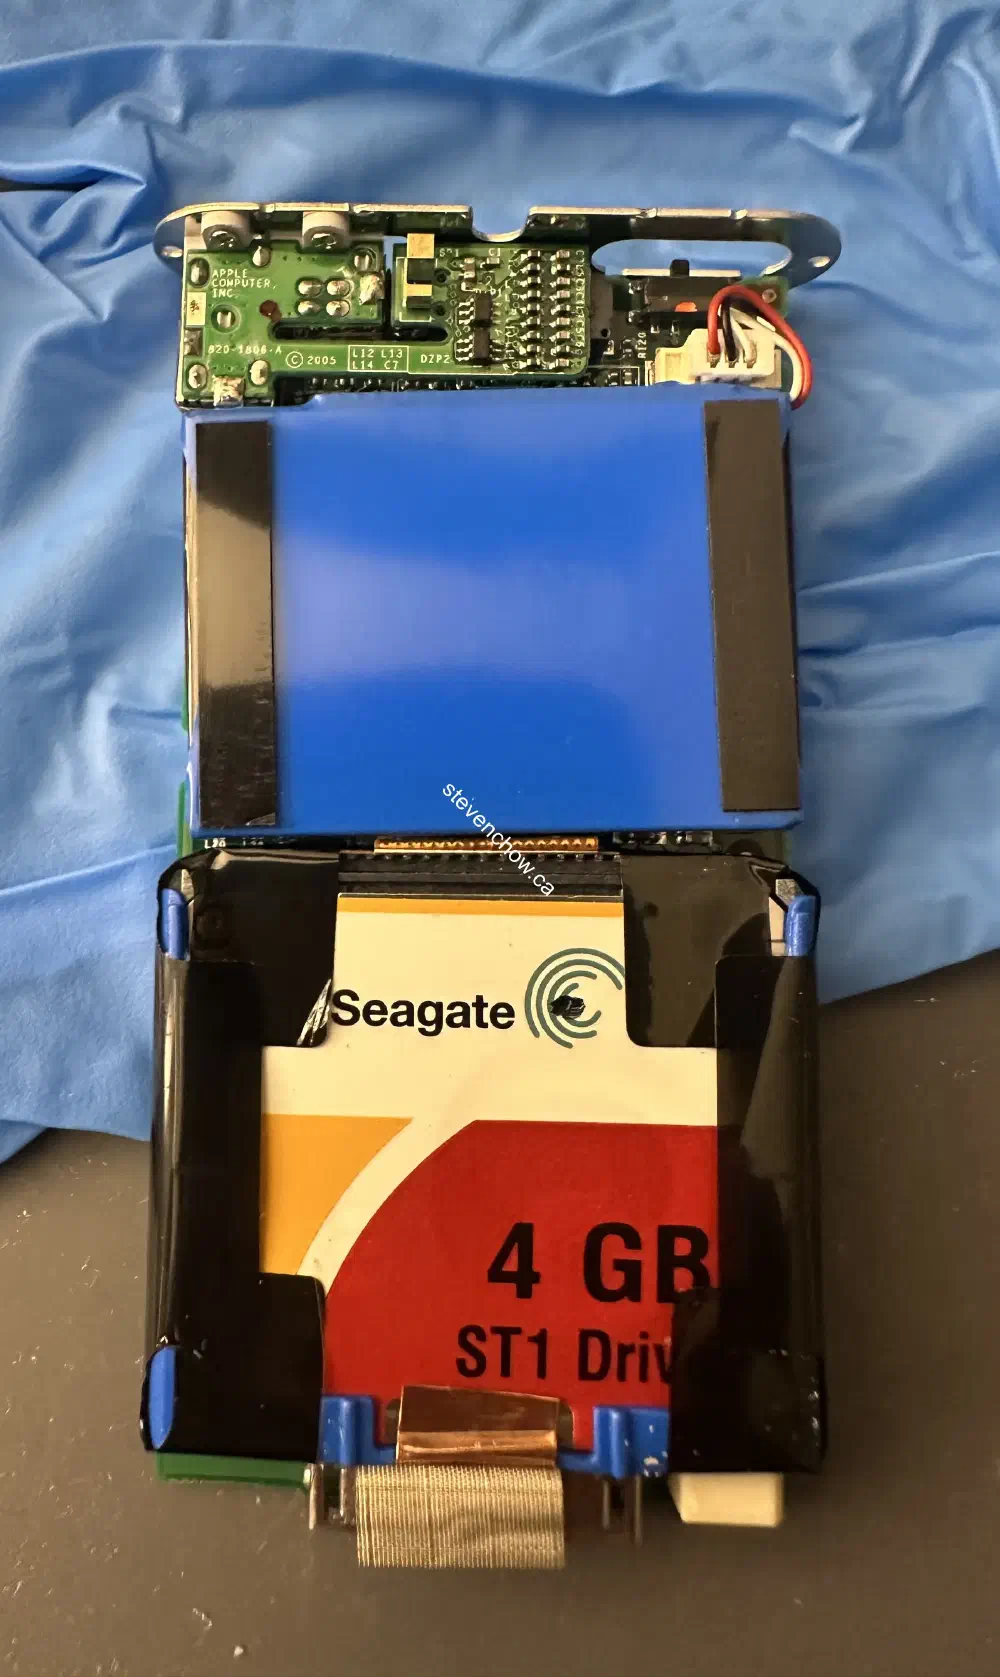
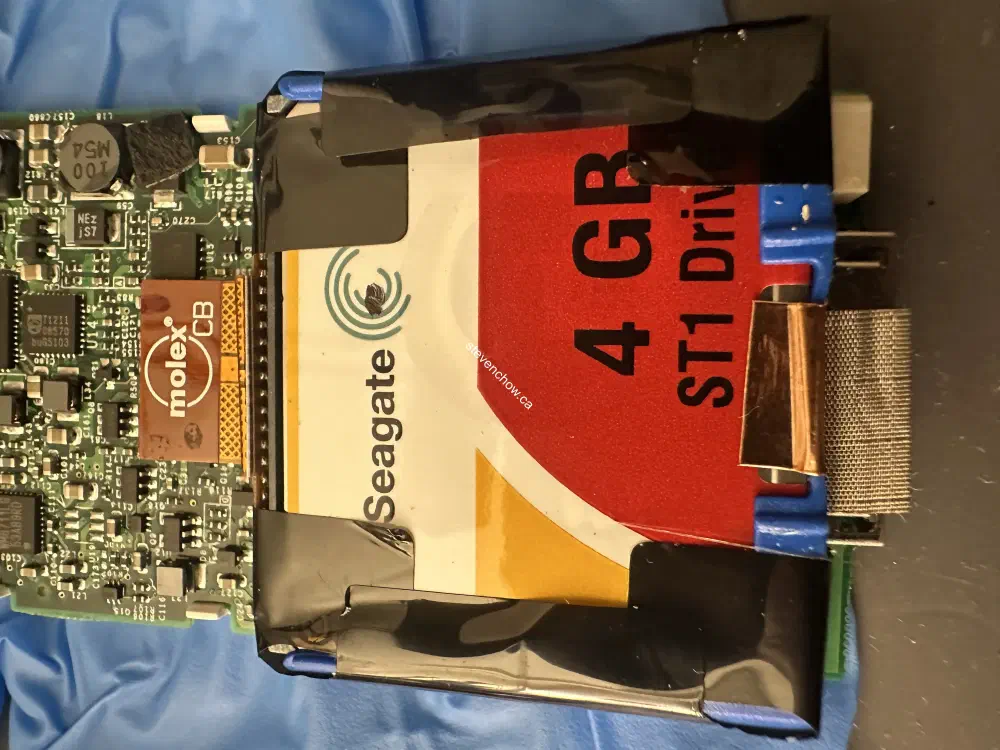
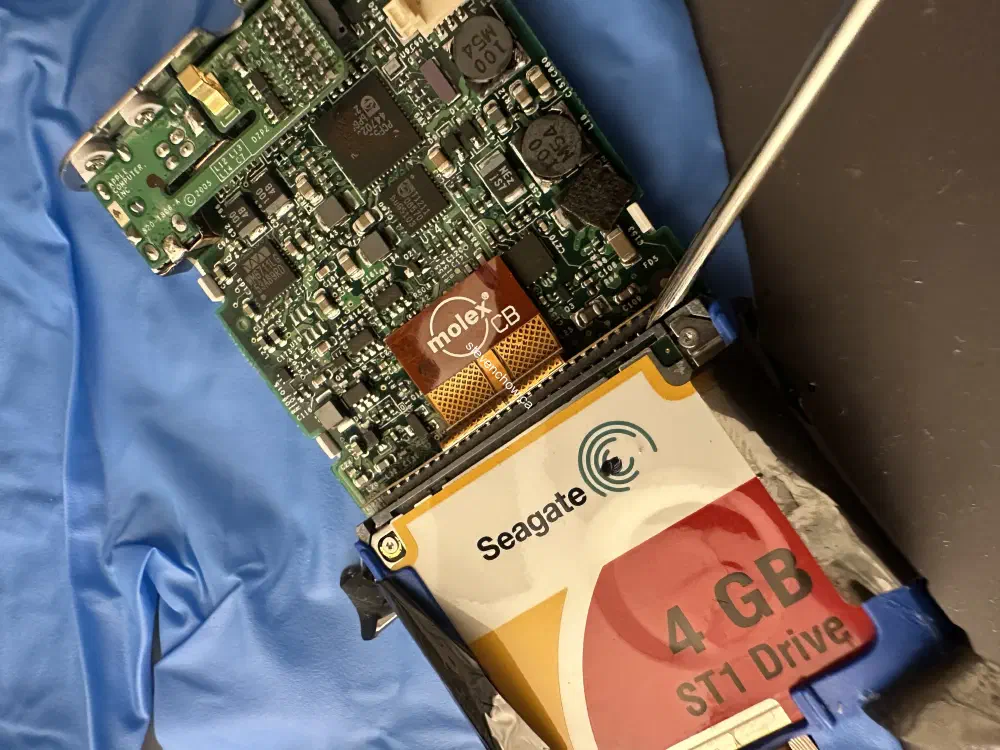
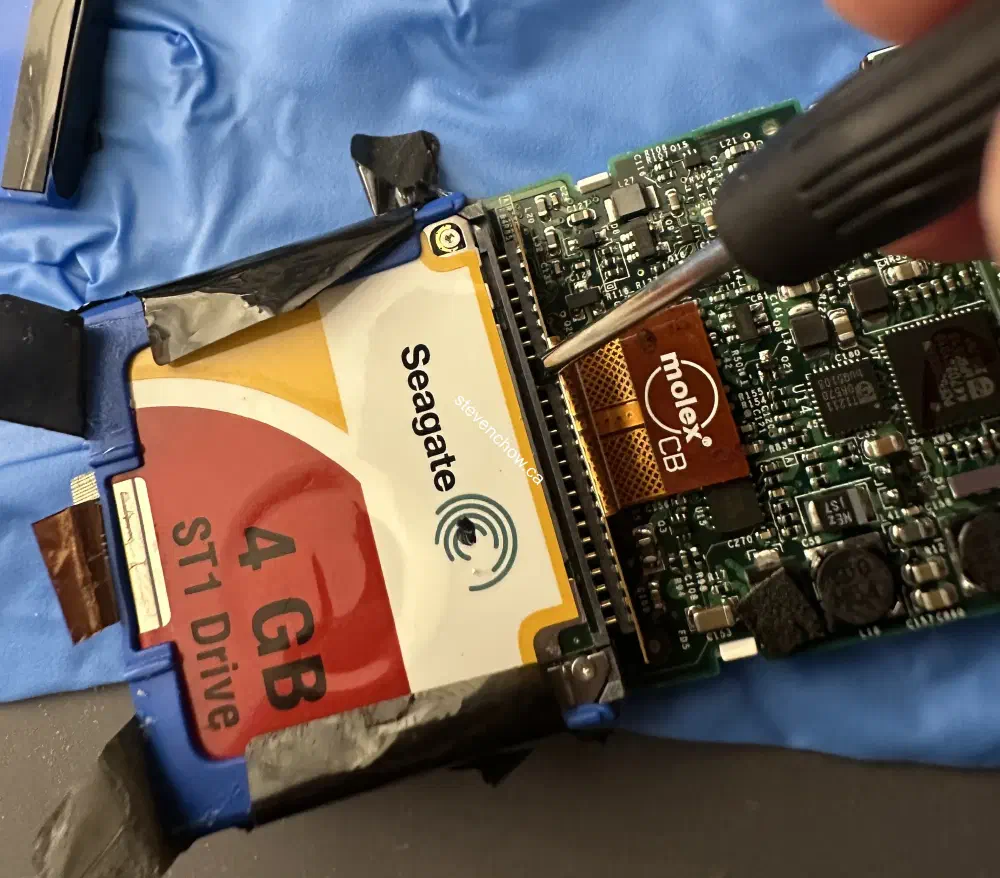
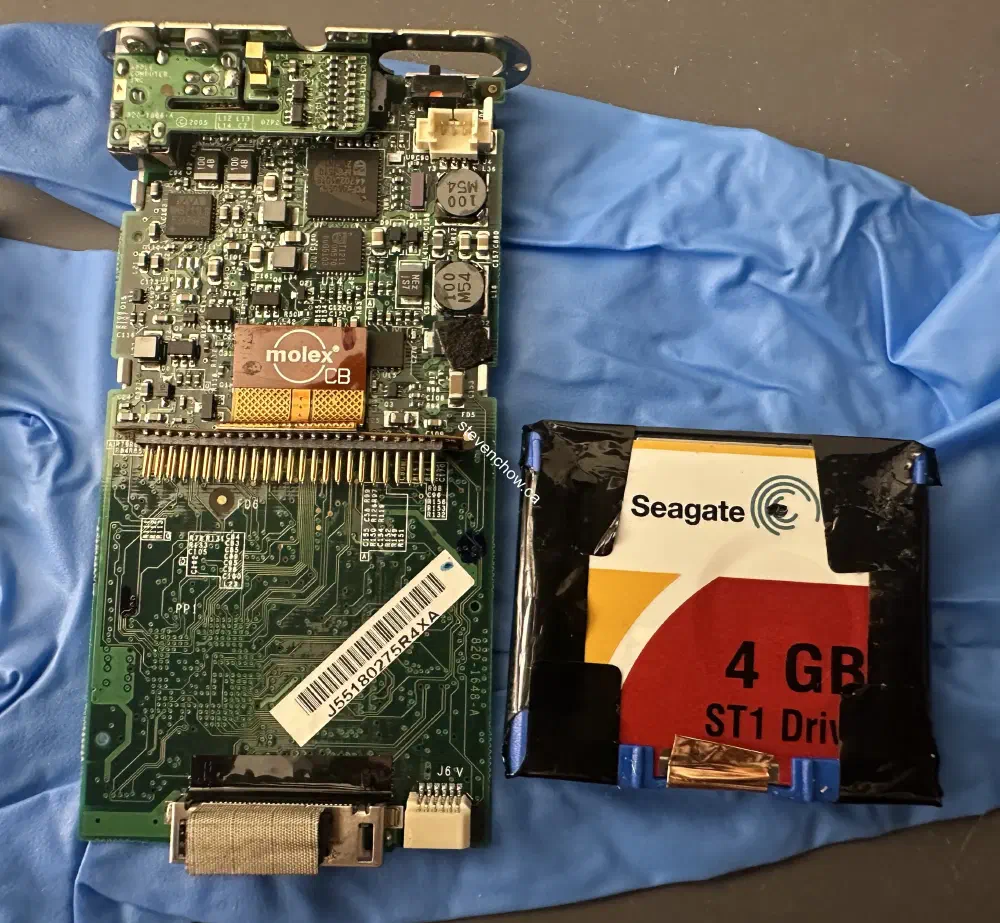
Removing HDD
Peel back the black adhesive enough to access the ribbon cable. Use a flathead screwdriver to disconnect the connector.
##
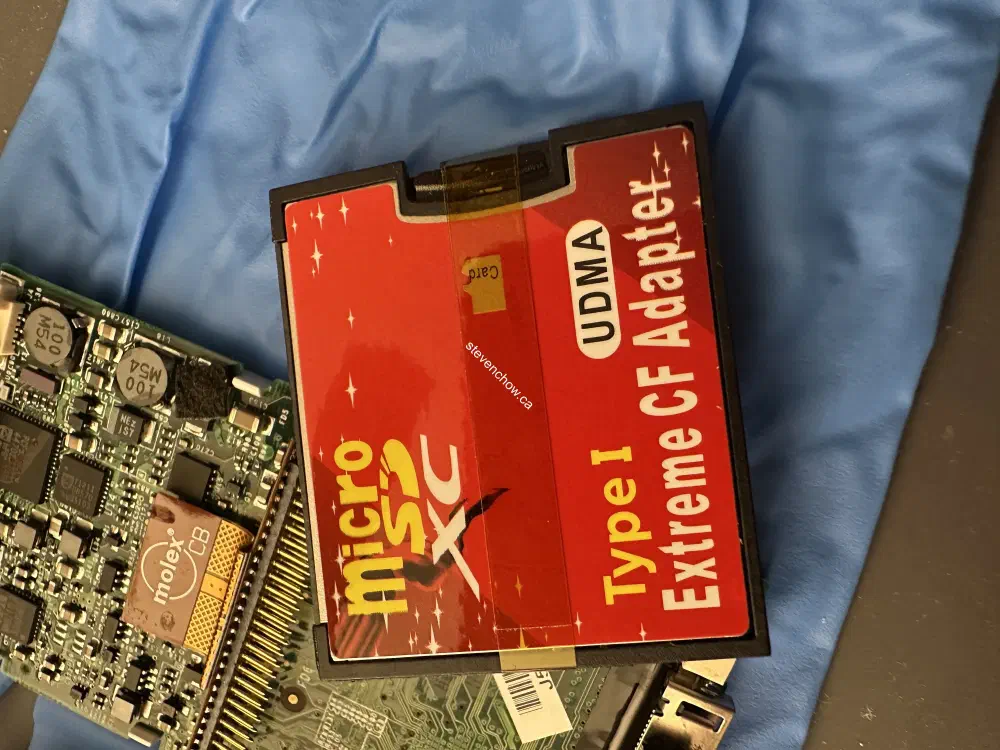
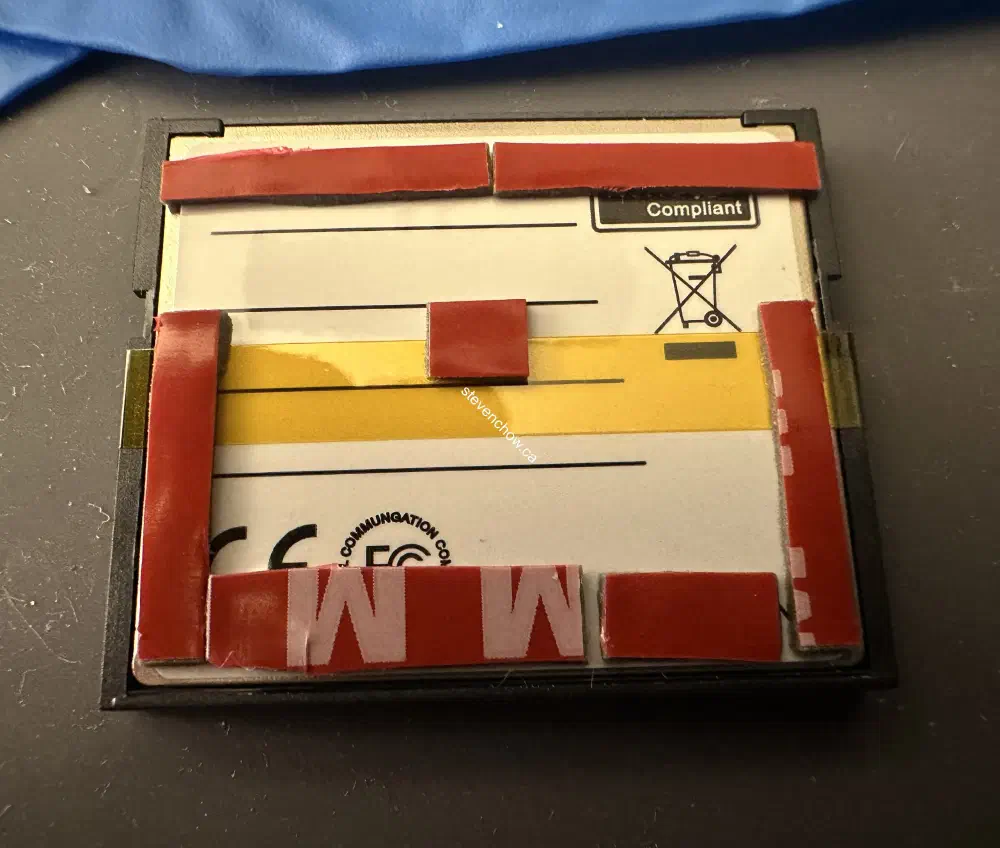
Prepping Storage and Battery
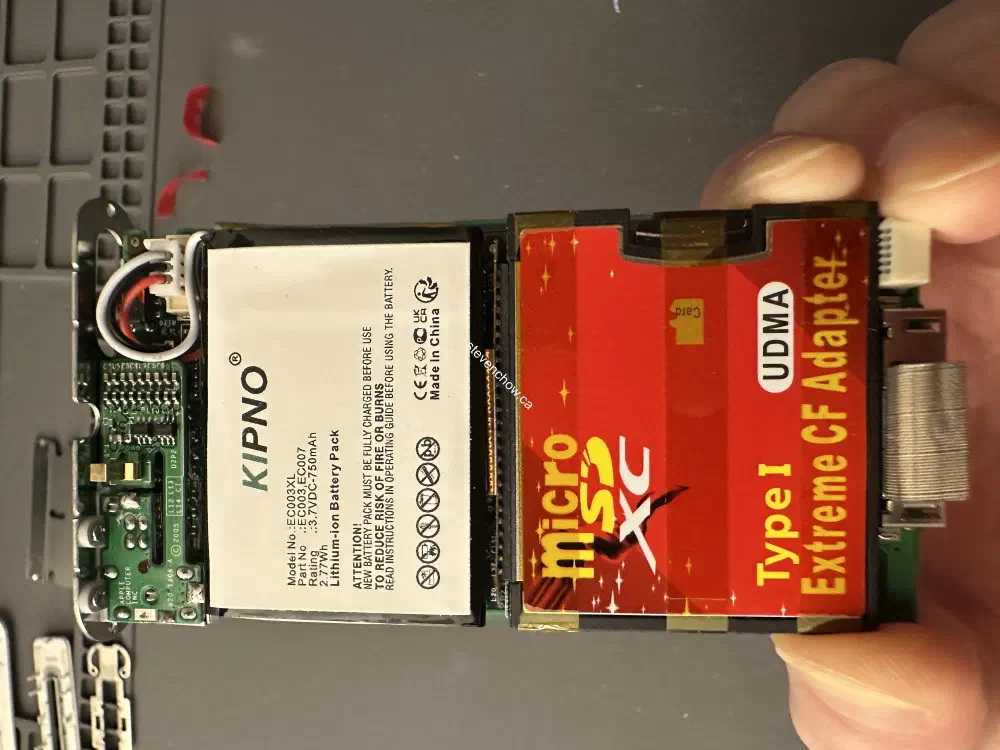
Tape down the microsd card into the CF Card adapter and apply double-sided adhesive to the back.
##
Restoring
##
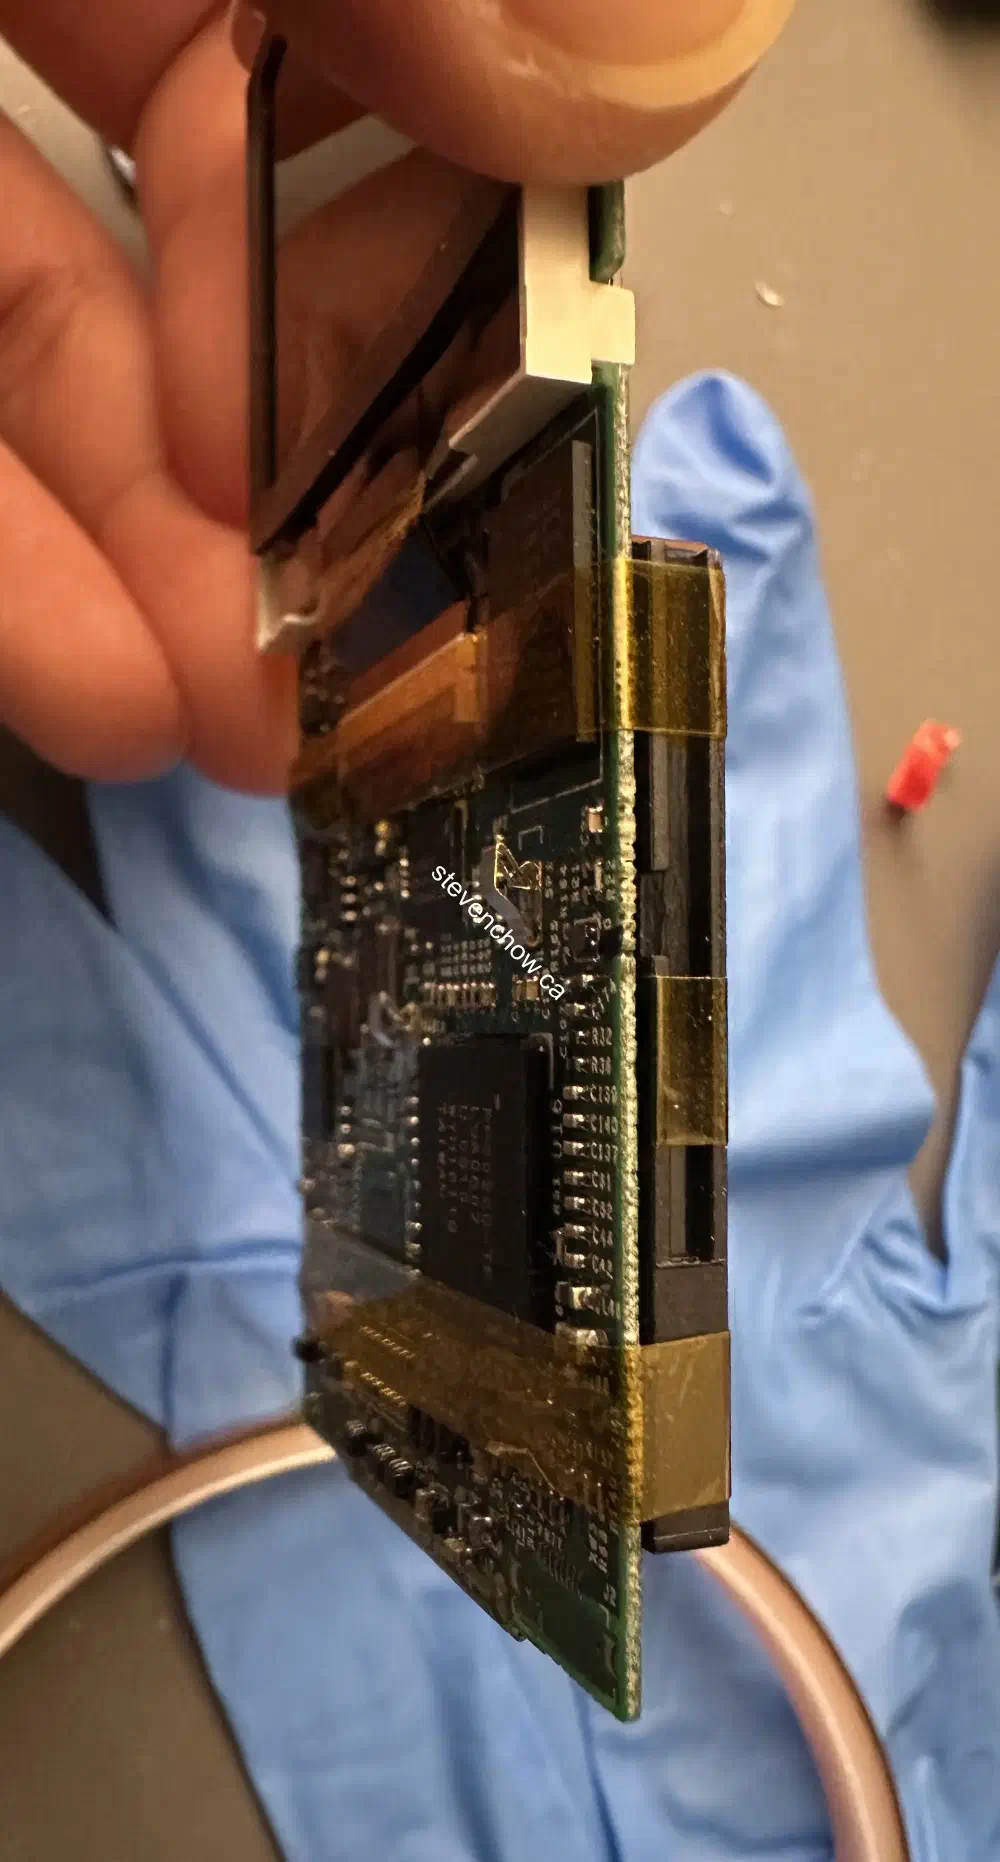
Securing Red microsd to CF Adapter and Battery on iPod Board
##
Reassembled