Rebuilding right earbud of wf-1000xm4
Table of Contents
#
Introduction
This is my experience rebuilding a wf-1000xm4 right earbud from scratch. I received two right wf-1000xm4 earbuds. One earbud had a deformed plastic male eartip end and the other didn’t seem to output any sound. I used a multi-meter and check for resistance. It read 0 ohms on the driver that wasn’t able to output sound. This bud had a good housing and the bud with the deformed tip had functioning internals.
The best way to come out with a working earbud was to either swap all the internals, or just swap the driver. I decided to swap everything instead of just the driver since I know the deformed bud was fully working. I didn’t want to further troubleshoot if there were more issues.
#
Process
I didn’t take pictures of the teardown process. 52Audio has a great video on youtube of it, though they don’t show the process of removing each piece. It does give a good idea on how all the pieces are connected.
https://www.youtube.com/watch?v=-H7ST47BAyE
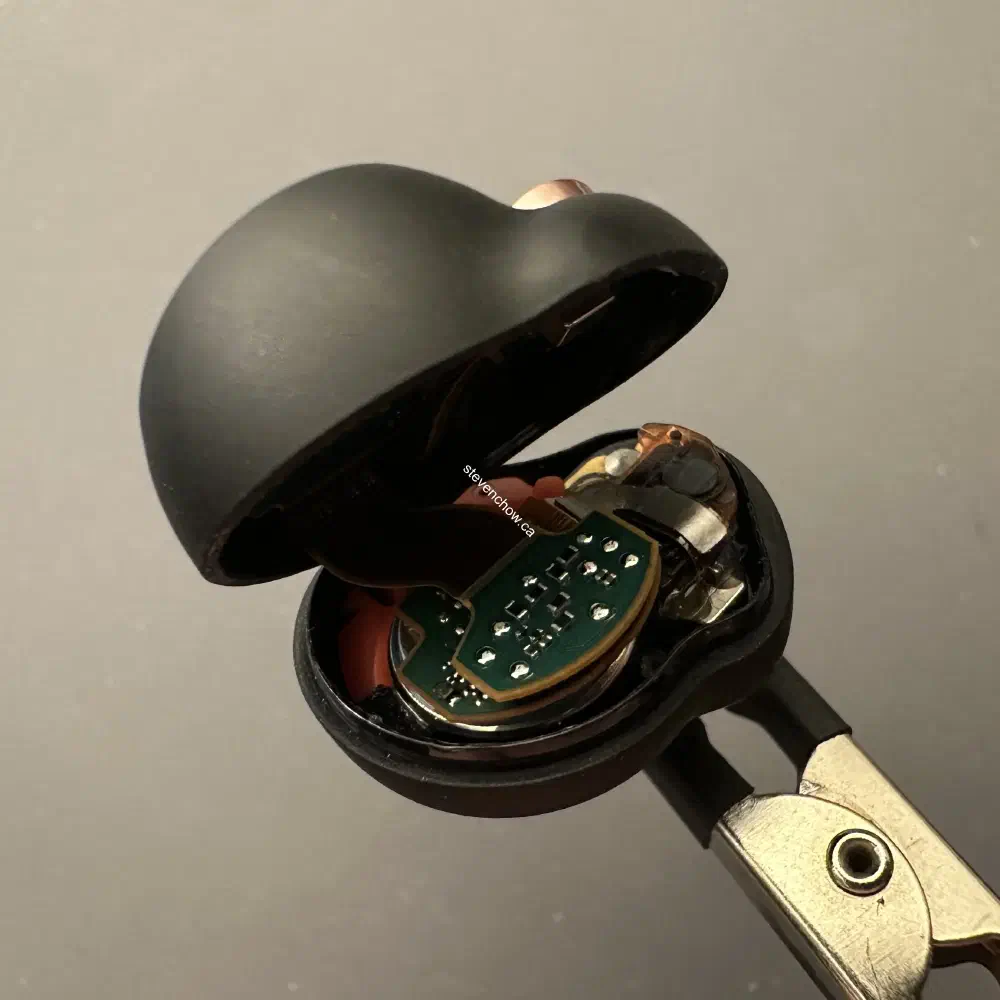
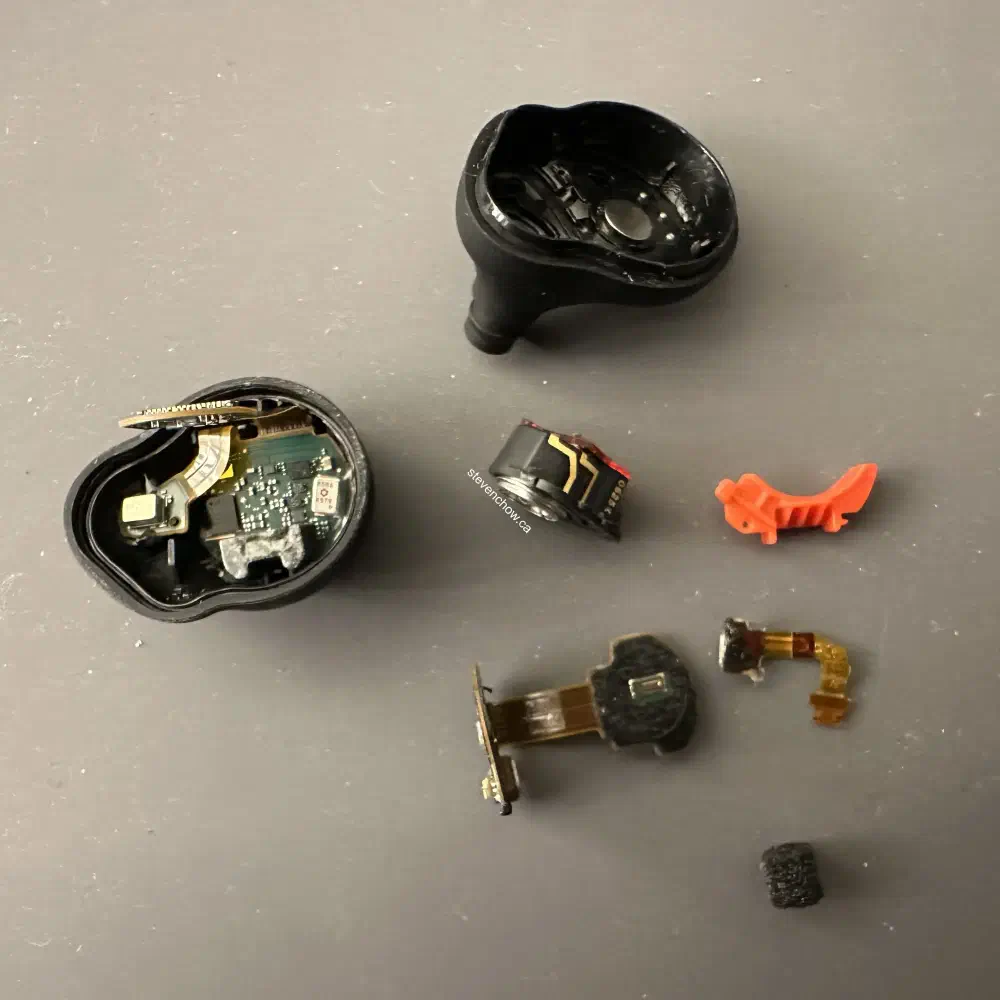
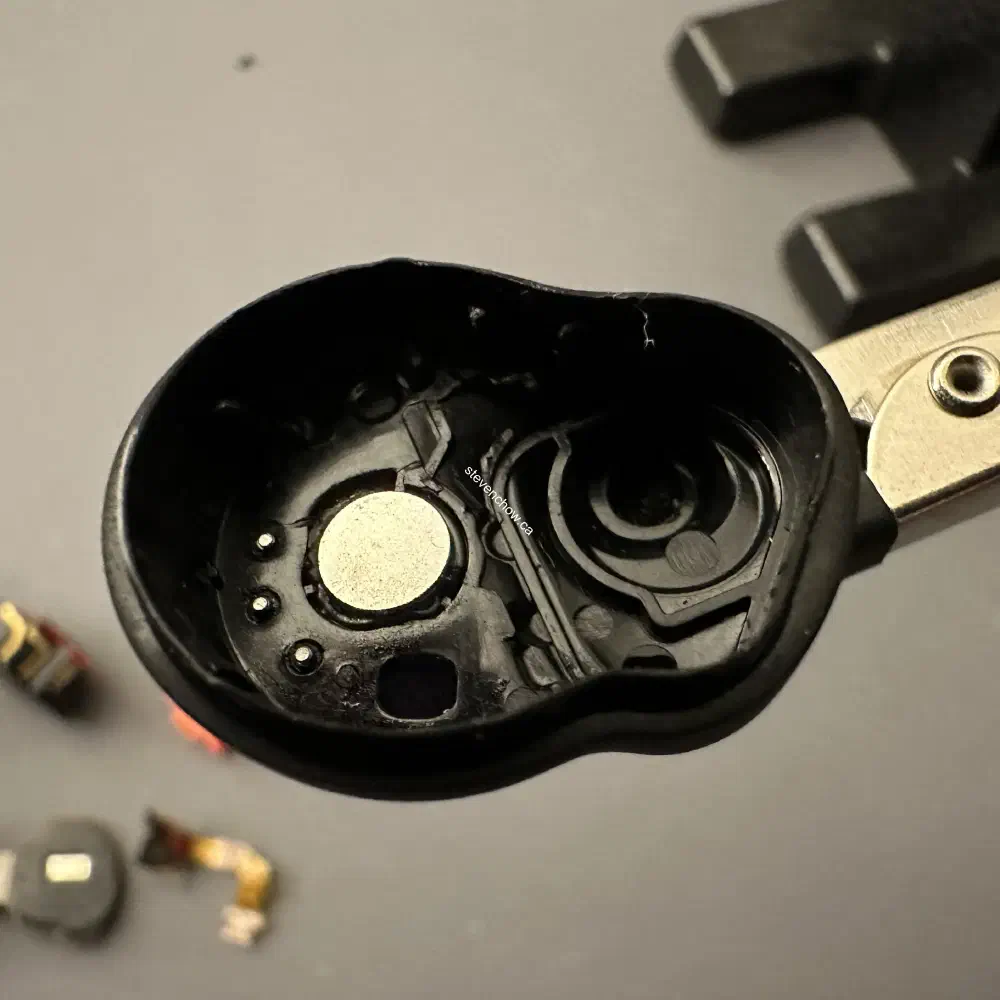
These are all the parts I’m using to rebuild. Housing from the non-functioning driver bud and the internals of the deformed exterior bud.
##
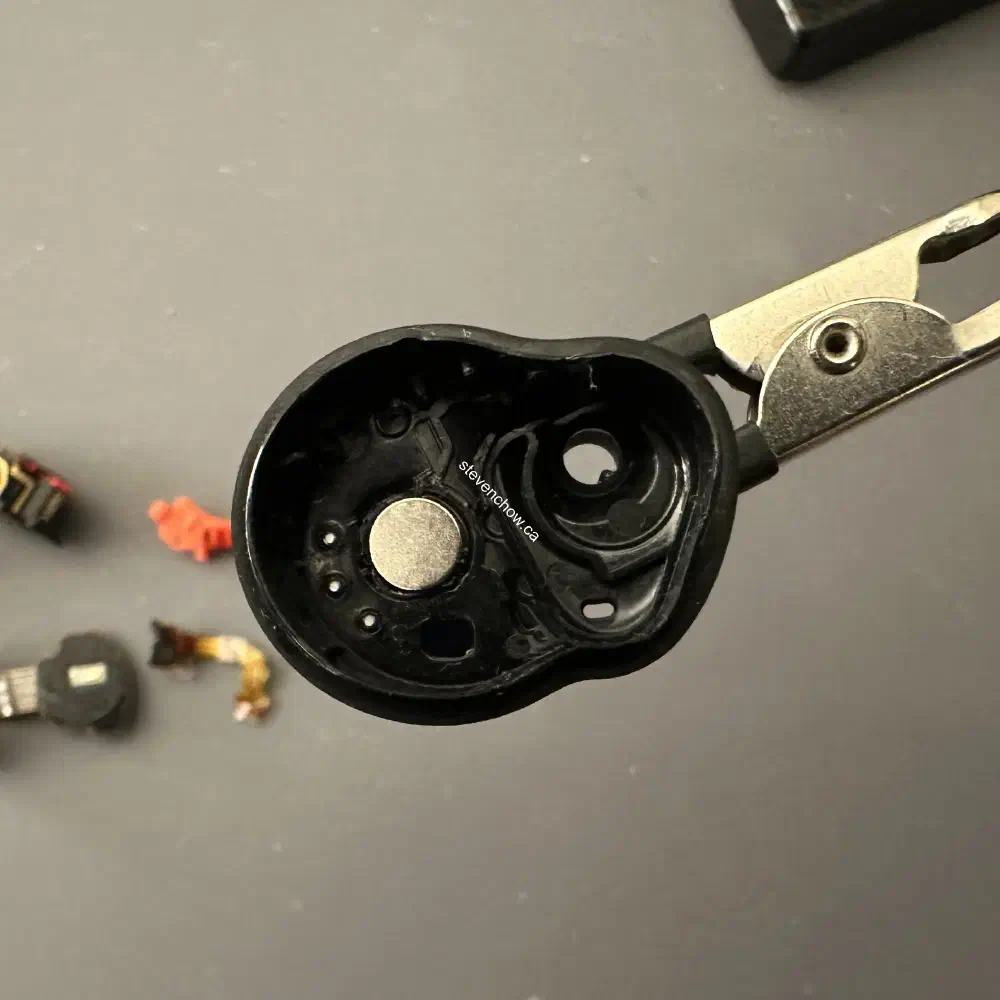
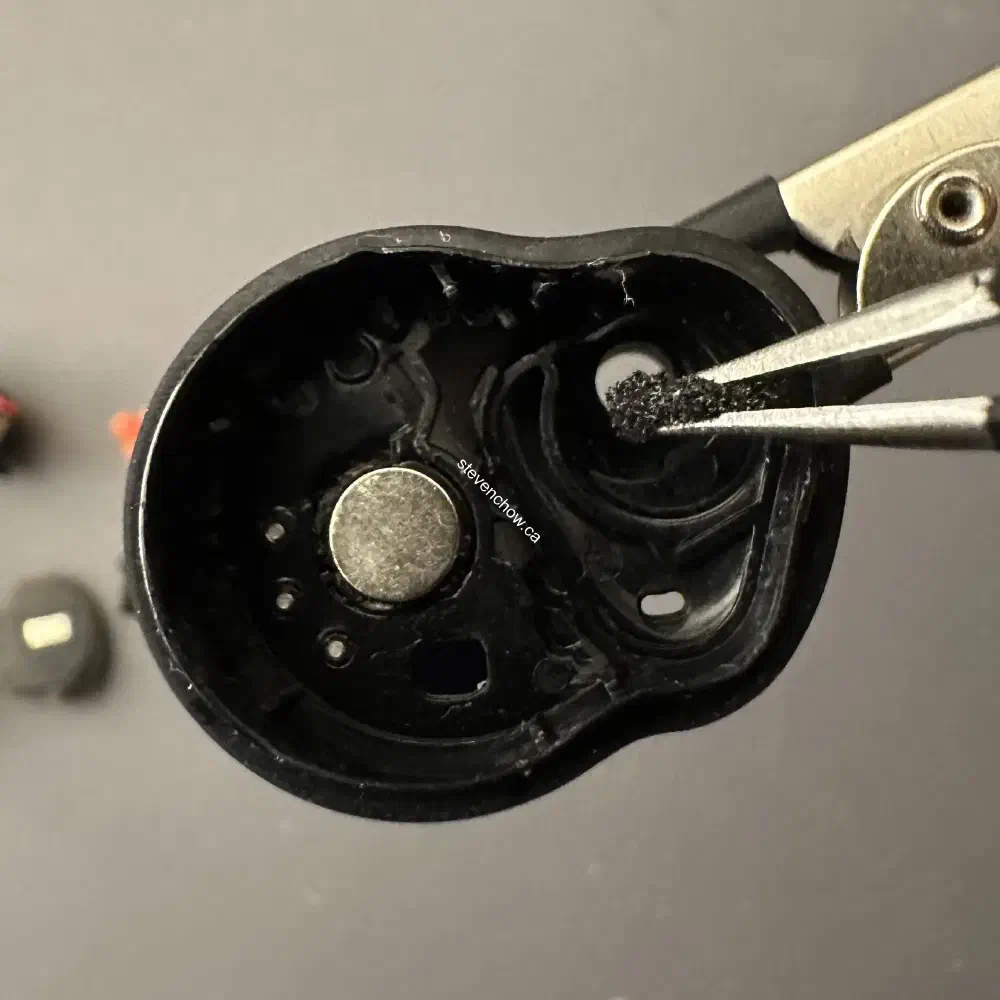
Attaching foam to the eartip canal
Without this foam, the earbud’s ANC returns a high pitch squel and tingy sounds. I didn’t use the OEM foam.
##
Attaching the inner ANC microphone to the speaker driver
You’ll want to align the hole of the microphone to the hole in the plastic housing of the speaker driver. If the OEM adhesive is not salvageable, you can use some adhesive to glue it down. There’s raised plastic on the housing that will help align the microphone.
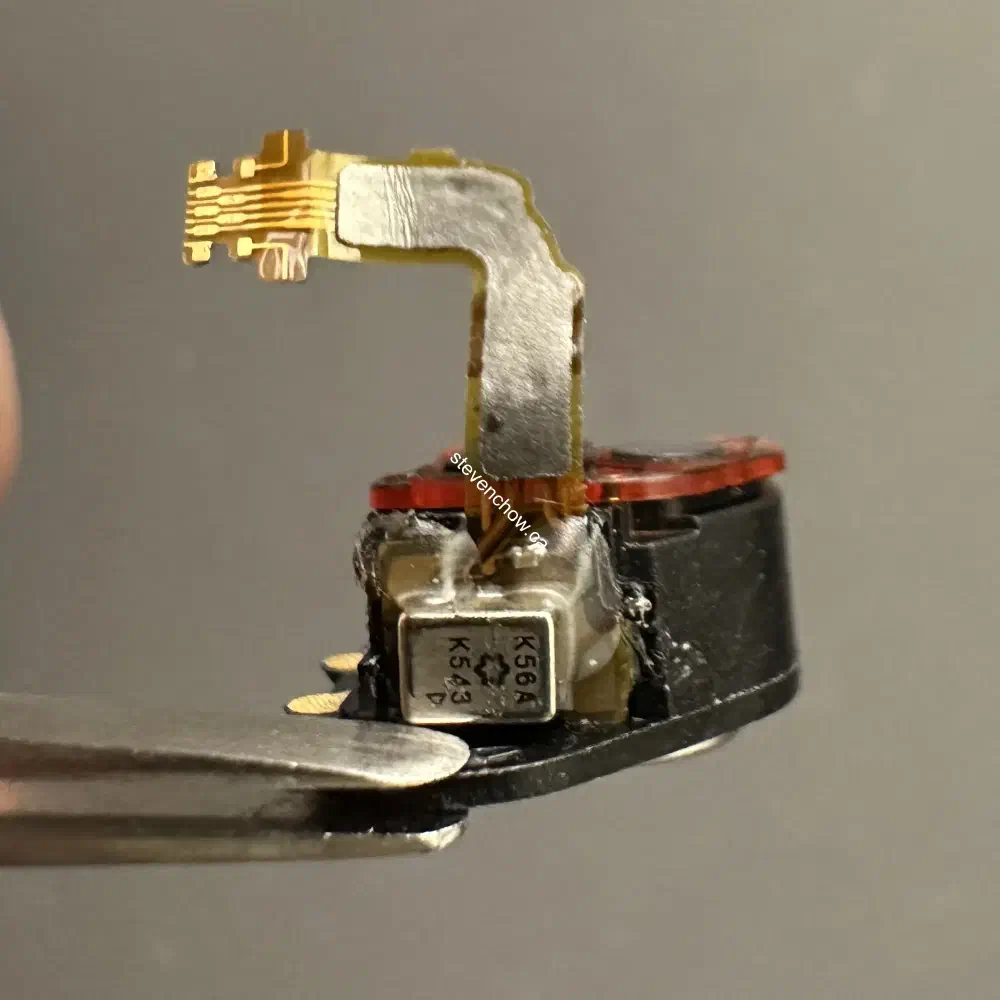
Attach the speaker driver and microphone combo to the housing. You will need to apply adhesive to the driver as well to adhere it to the housing.
##
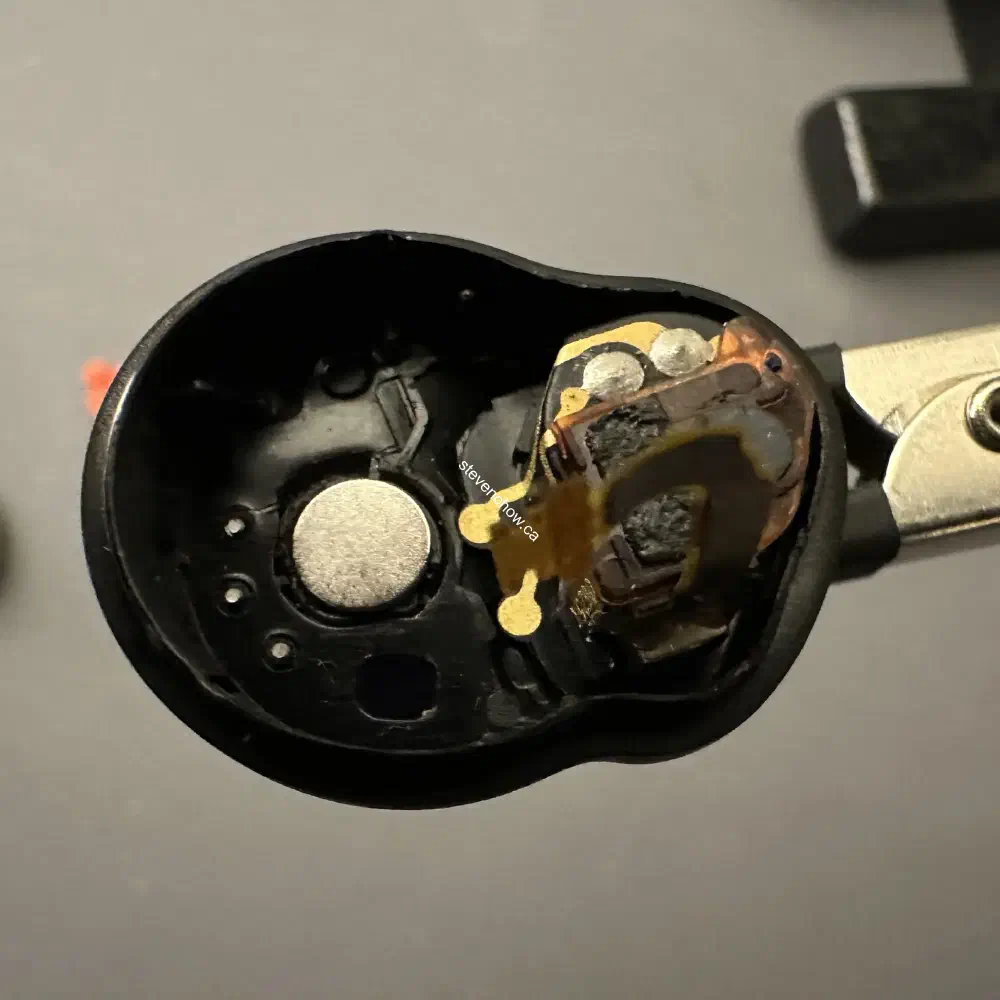
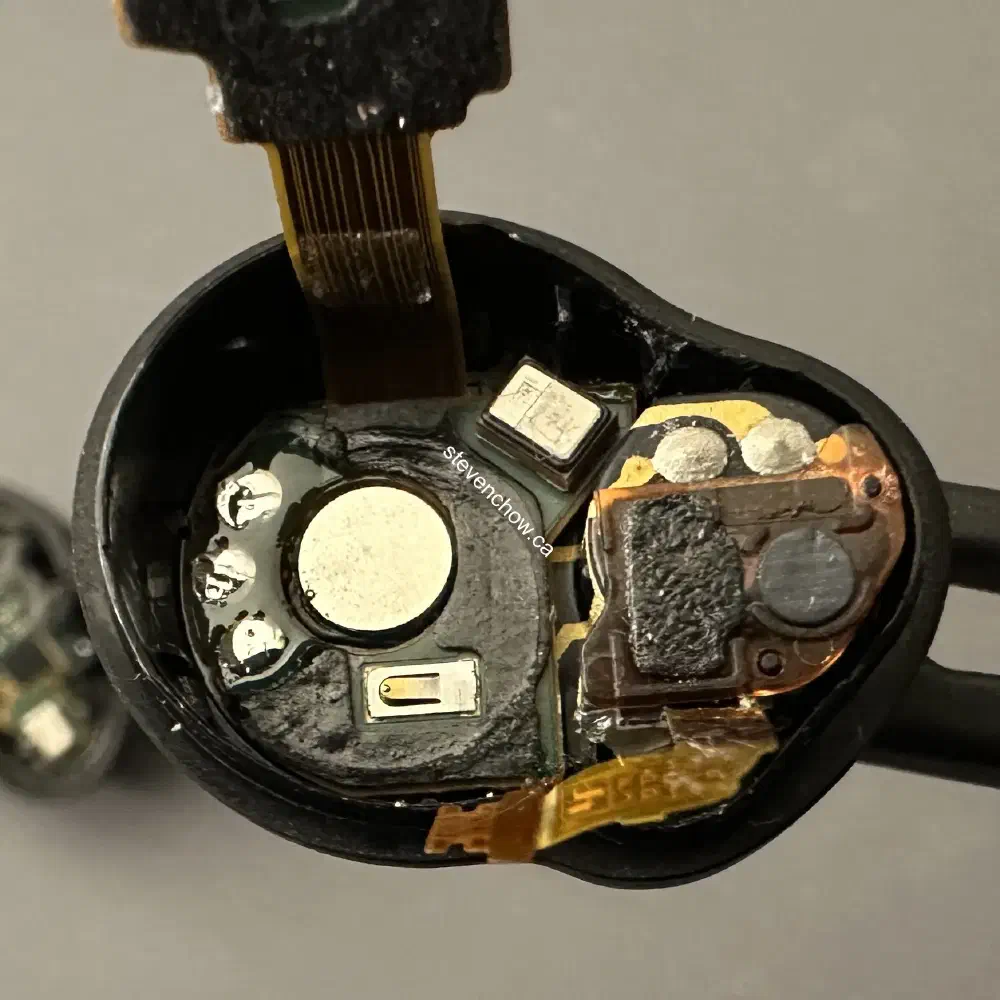
Attach pcb to the housing
On the bottom of the PCB, there are two pins that will make contact on the two pads of the driver. You will need to make sure there’s contact. On the adjacent end, there are three holes for the charging pogo pins. These will need to be soldered.

Solder the 3 pins
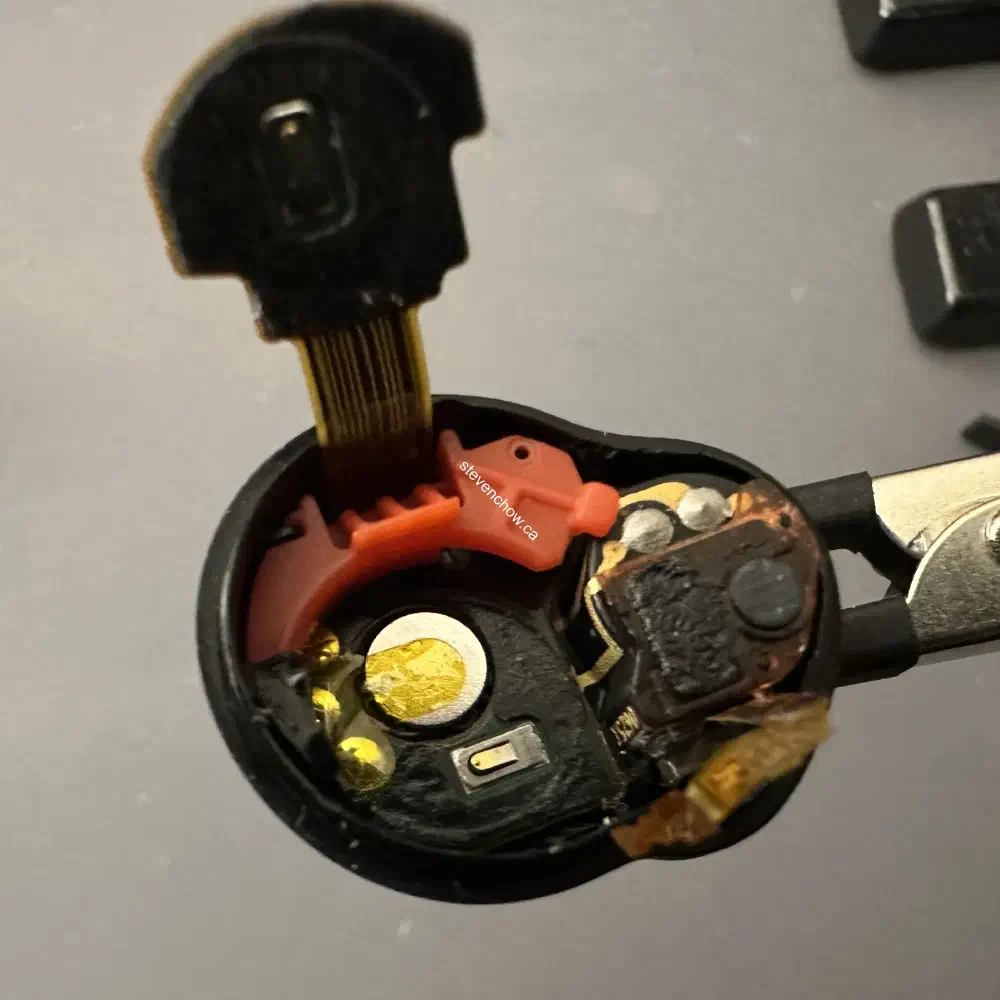
Apply the kapton tape and the silicone glue from the teardown. I’ve applied some glue to the silicone. This helps align the plastic orange battery holder.
##
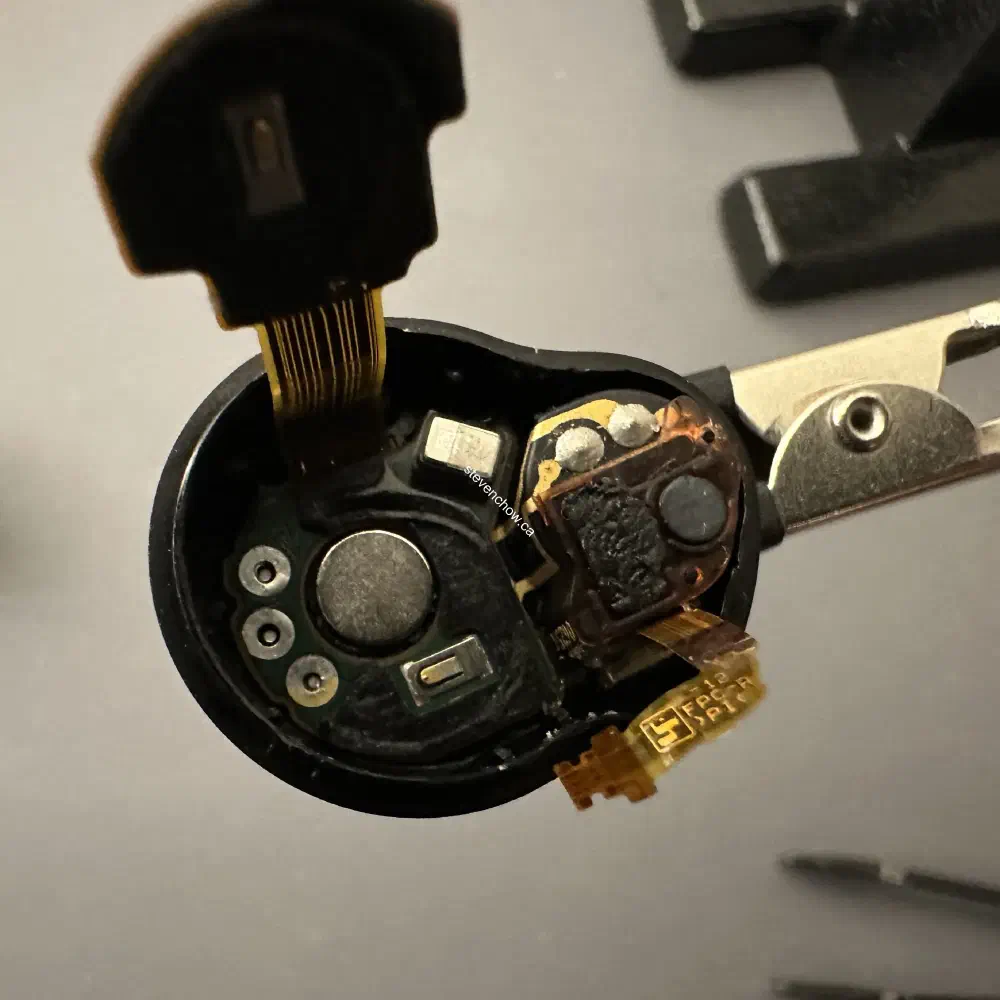
Battery and microphone ribbon
Insert the battery, press down the pcb and re-attach the micrphone ribbon cable. The last step would be to attach the outer housing’s zif connector.